Setup and Tutorials
How to Map HarnessKeys for Voice Input
Jun
Voice input is one of the best reasons to use a dedicated AI workflow keypad. When speaking a prompt feels one key away, you are more likely to explain the task clearly instead of compressing everything into a rushed sentence typed between distractions. HarnessKeys can make that voice trigger physical, repeatable, and easy to find.
Mapping voice input well takes a little care. The mic key has to match your operating system, browser, dictation tool, AI assistant, and permission settings. If one layer is wrong, the key can feel unreliable even when the hardware is working.
Choose the voice tool before choosing the shortcut
Start by deciding what you actually want the mic key to open. It might trigger built-in operating system dictation, a browser voice input field, a push-to-talk feature in an AI app, a custom shortcut, or a workflow in your coding environment. Each option has different requirements.
Do not map the key first and then search for a use case. Pick the voice workflow you want, confirm that it works manually, and then assign HarnessKeys to trigger it. That order prevents you from debugging two unknowns at once.
A working manual voice command is the baseline. The keypad should make it faster, not compensate for a broken setup.
Confirm microphone permission at every layer
Voice input can be blocked by the operating system, browser, specific website, desktop app, privacy setting, or selected microphone. Check all layers before judging the keypad. If the app does not have permission to use the microphone, pressing a perfectly mapped key will not help.
Open the voice tool and start it manually. If the microphone does not activate, fix that first. Then check whether your selected microphone is correct. Laptops, webcams, headsets, monitors, and external microphones can all appear as different input devices.
Once manual voice input works, bring HarnessKeys into the loop.
Decide between toggle and push-to-talk behavior
Some voice workflows use a toggle: press once to start listening, press again or click elsewhere to stop. Others use push-to-talk: hold or press during the speaking moment, then release or stop. Your mic key mapping should match the behavior you can use consistently.
Toggle is easier for longer prompts because you do not have to maintain pressure. Push-to-talk can feel safer because listening is clearly bounded. For coding prompts, I usually prefer a deliberate start and clear stop, because accidental dictation into a code editor is annoying.
Test both if your software supports it, then choose the one that creates fewer mistakes.
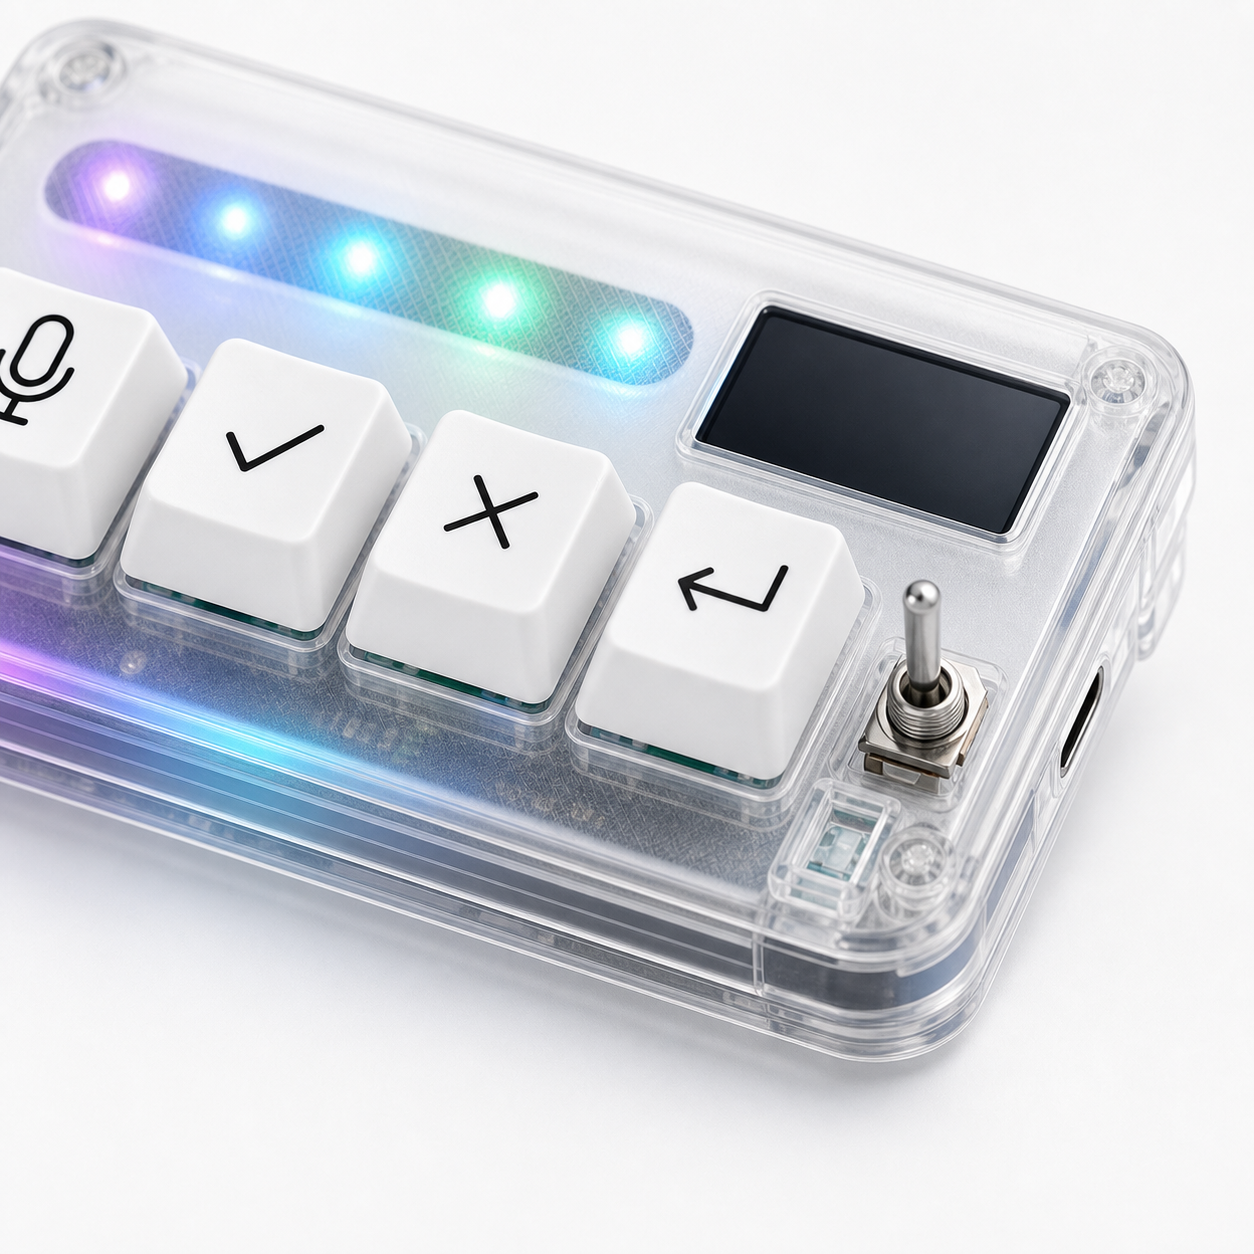
Keep the mic key physically distinct
The voice key should be easy to reach without looking. It should also feel distinct from approve and cancel. Accidentally starting dictation is less dangerous than accidentally approving a bad change, but it still interrupts flow.
During setup, rest your hand on the keypad and find the mic key three times without looking. If you keep touching the wrong key, move the keypad or adjust the mapping. Muscle memory starts with physical clarity.
Labels help at first, but position matters more over time.
Test with short prompts before long instructions
Begin with small voice prompts. Say “explain this function” or “write a short test outline.” Watch whether the text appears in the right place, whether punctuation is acceptable, and whether the AI tool receives the prompt after you finish speaking.
Long prompts introduce more variables: transcription mistakes, pauses, background noise, microphone quality, and your own wording. Short prompts make it easier to isolate the mapping. If short prompts work, slowly increase complexity.
Do not judge the whole voice workflow from one overambitious first prompt.
Build a repeatable speaking pattern
A good voice prompt often has three parts: context, requested action, and boundary. For example: “In this React component, find the likely state bug, explain it first, and do not edit files yet.” HarnessKeys can trigger the voice input, but the quality of the result still depends on what you say.
Practice speaking in complete task units. Avoid mumbling half an instruction and expecting the AI tool to infer the rest. Voice input is fast, but it rewards structure.
The keypad removes the friction of starting. You still provide the judgment.
Watch for focus mistakes
The mic key may work, the voice tool may work, and the prompt can still land in the wrong place if app focus is wrong. Before speaking, glance at the active field. Is the cursor in the AI prompt box, editor, browser, or terminal? A voice prompt typed into the wrong window can be funny once and irritating after that.
If focus mistakes happen often, consider adding a setup habit: click the prompt field, press mic, speak, stop, review, then approve. That sequence is slower than pure automation but far safer while you are learning.
Speed comes after accuracy.
Pair voice with approve and cancel
Voice input becomes more powerful when the nearby keys handle the next decisions. Speak the instruction, review the AI response, approve the safe step, or cancel the wrong one. This is the heart of a vibe coding keyboard: not just dictation, but a physical loop around AI action.
If the mic key is excellent but approve and cancel are awkward, the workflow still feels incomplete. Test the full loop in a small task before using it in a real repository.
HarnessKeys is most useful when all four actions support each other.
Adjust after one real work session
After a real session, ask what slowed you down. Was the mic key hard to find? Did dictation start in the wrong app? Did you forget to stop listening? Did the shortcut conflict with another tool? Fix the biggest issue first and leave the rest alone until you test again.
If the problem is order-related or hardware-related rather than setup-related, contact HarnessKeys support with clear details. For product context, review the HarnessKeys product page.
A well-mapped mic key changes the feel of AI coding. It turns prompting from a separate typing chore into a quick physical gesture, which is exactly where a small keypad earns its place.