Setup and Tutorials
How to Use HarnessKeys With Cursor
Jun
Cursor users already live in a fast loop: ask for a change, read the suggestion, accept part of it, reject the wrong direction, continue with another instruction, and repeat. HarnessKeys fits that loop because it gives the most repeated control moments a physical place instead of leaving every action buried in the keyboard, mouse, or editor UI.
This guide does not depend on a specific Cursor interface detail. Those can change. The durable idea is simpler: use the keypad to make prompting, accepting, rejecting, and continuing feel deliberate while keeping your eyes on the code.
Map the Cursor loop before mapping the keys
Write down the Cursor workflow you actually use. A common pattern is: select context, ask for a change, review the proposed edit, accept the useful part, reject the bad part, then continue with a tighter prompt. That loop is where HarnessKeys can help.
Do not start by mapping every possible editor command. Cursor is already a capable coding environment, and your main keyboard still handles normal editing. HarnessKeys should cover the high-frequency AI control layer, not replace the whole editor.
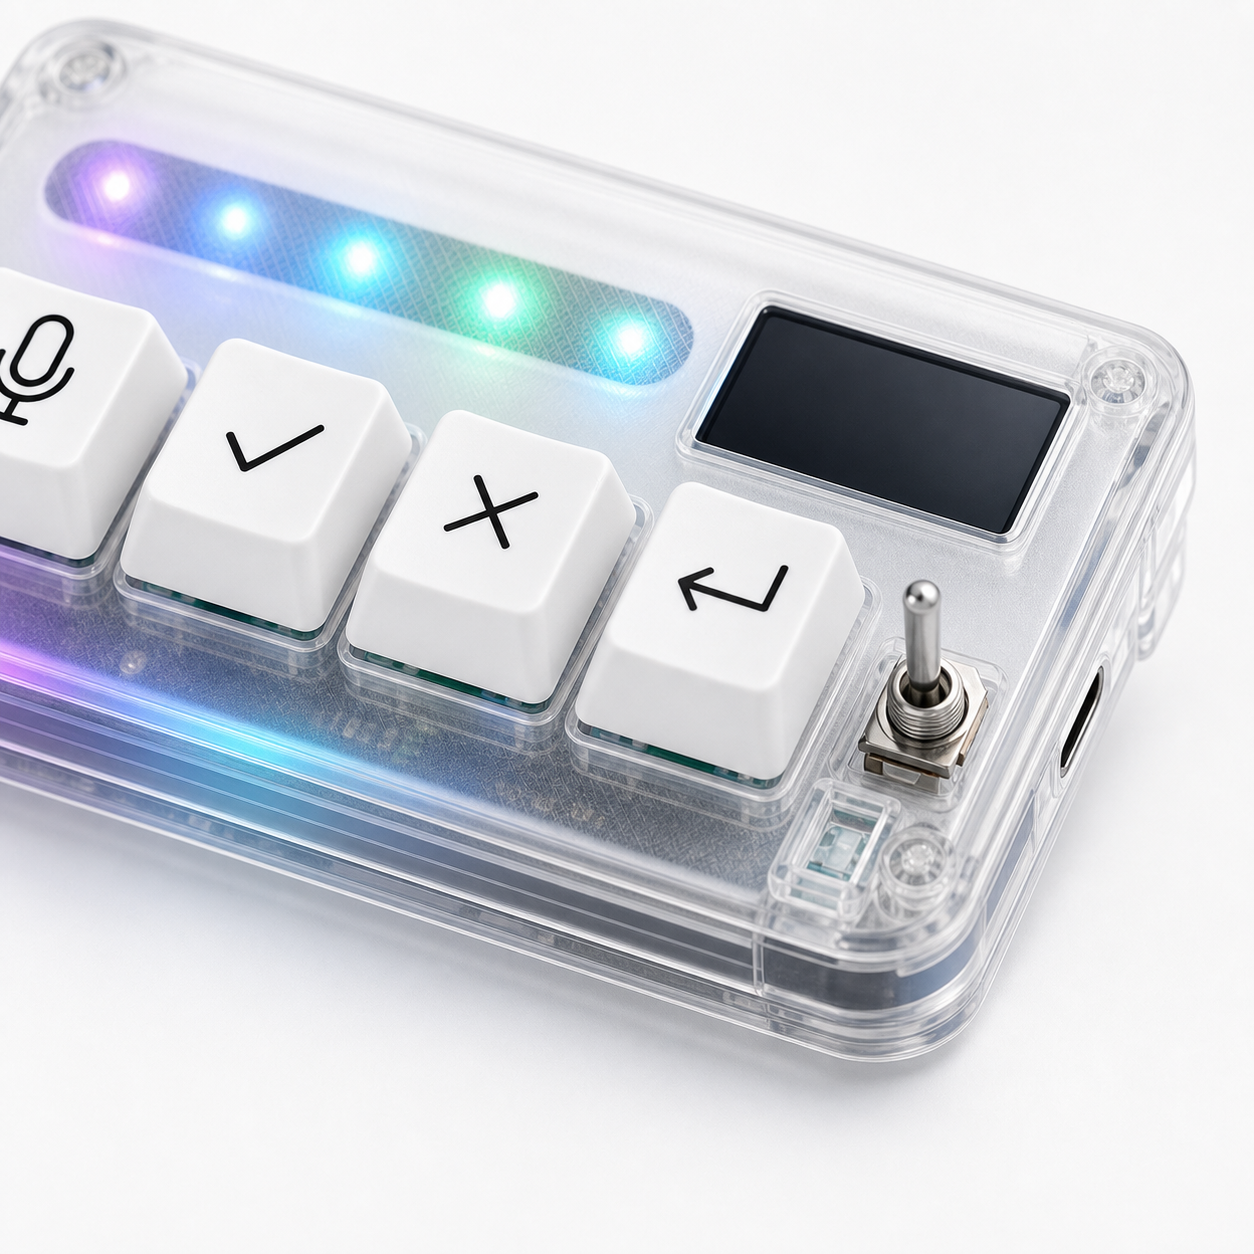
Voice, approve, cancel, and return are a strong first set.
Use the voice key for longer intent prompts
Cursor prompts often benefit from context and constraints. Voice input can make those instructions easier to express. Instead of typing a cramped sentence, you can speak a fuller request: what file you are working in, what behavior is wrong, what change you want, and what the tool should avoid.
Before relying on voice, test microphone permission and make sure the prompt lands in the right field. If the mic key starts dictation while focus is in the editor, you may end up inserting spoken text into code. Funny once. Not fun as a habit.
Use a short voice test before a serious edit.
Make accept feel intentional
Accepting AI-generated changes should not be automatic. The approve key should feel like a review decision, not a reflex. Use it after reading the diff, checking the affected lines, and understanding the change enough to own it.
For small suggestions, a physical approve key can remove mouse friction. For large edits, it should still come after review. If a mapping makes you accept changes before reading them, the mapping is too aggressive.
The best approve behavior speeds up decisions you already made.
Give rejection its own muscle memory
Rejecting a bad suggestion is not failure. It is part of the Cursor workflow. AI tools often produce a useful first draft with one wrong assumption, or a technically valid change that does not match your project style. A cancel or reject key lets you stop that direction quickly.
Test the cancel key in harmless suggestions first. Confirm what happens when focus is in the prompt box, editor, side panel, or diff view. The same physical key should not surprise you depending on where your cursor happens to be.
A good reject habit keeps experimentation cheap.
Use return for the next prompt, not every positive action
Return is useful for continuing the conversation, submitting a small instruction, or moving back into the prompt rhythm. Keep it conceptually separate from approve. If every positive action uses the same key, your hand has to remember hidden context. That can create mistakes.
One clean pattern is: voice starts the instruction, return sends or continues it, approve accepts reviewed output, cancel stops or rejects. This keeps the workflow easy to explain and easier to remember next week.
Plain mappings are not boring when they work.
Keep your main keyboard for code editing
HarnessKeys should not become a second full keyboard. Use your normal keyboard for typing code, moving around files, searching, and editing details. Use the keypad for AI control moments that happen again and again.
This separation prevents your setup from becoming clever in a fragile way. A compact keypad is strongest when it makes the repeated decision loop faster. It is weaker when every key has five meanings and only works in one exact editor state.
Let Cursor remain the editor. Let HarnessKeys be the control surface.
Test in a disposable branch or scratch file
Before trusting a new mapping in your real project, create a scratch file or disposable branch. Ask Cursor for a harmless change, accept one suggestion, reject another, and continue with a second prompt. Watch how the keypad behaves through the whole loop.
If you accidentally approve too much, change the mapping before using it in production work. If cancel does not stop the right action, fix that before the session gets serious.
Testing is faster than cleaning up a messy diff.
A practical Cursor setup for day one
For the first day, map HarnessKeys around four moments: start voice input, submit or continue the prompt, accept reviewed suggestions, and cancel or reject bad direction. Keep the setup stable for a few sessions before adding more advanced shortcuts.
If there is a hardware or order issue, contact HarnessKeys support. For the product’s role, start with the HarnessKeys AI workflow keypad page.
The goal with Cursor is not to press more buttons. The goal is to make the AI coding loop feel less scattered and more under your hand.