Workflow Design
How to Use a Vibe Coding Keyboard With a Mechanical Keyboard
Jun
Mechanical keyboard users already care about typing feel, layout, shortcuts, and desk ergonomics. That can make a vibe coding keyboard sound redundant. If the main keyboard is already excellent, why add a small four-key device?
The answer is separation. A mechanical keyboard is still the best place for typing code. A vibe coding keyboard can be the place for AI workflow actions that are not ordinary typing: microphone, approve, cancel, and return-style control.
Avoid duplicating normal keys
The first rule is not to duplicate what the mechanical keyboard already does well. Do not buy or map a small keypad just to create another Enter key, another Escape key, or another set of arrows unless there is a clear workflow reason.
The value comes from giving different meaning to repeated AI actions. A return-style key on the workflow keypad can mean “send this prompt” or “continue this AI turn,” while Enter on the main keyboard remains part of typing. That separation reduces ambiguity.
If the small device only copies the main keyboard, it will probably be ignored.
A useful question is: would I want this action on my main board if I were not using AI tools? If the answer is no, it may belong on the workflow keypad. If the answer is yes, the main keyboard may already handle it better.
Offload AI actions from the typing layer
Mechanical keyboards are excellent for code, prose, shortcuts, and terminal work. AI coding adds actions that feel more like session control: speak a prompt, accept a result, stop a bad direction, and continue. Those actions can crowd the normal shortcut space.
Offloading them to a small keypad keeps the main keyboard clean. You do not have to remember another chord for approve or cancel. The AI controls become tactile and separate.
This is especially useful for people who already have a dense shortcut system in their editor. The workflow keypad prevents AI commands from competing with years of existing muscle memory.
For example, a developer may already use Escape, Enter, command palettes, and custom editor chords constantly. Adding approve and cancel to that same shortcut space can create conflicts. Moving those AI decisions to a separate device keeps the old habits intact.
Keep typing posture stable
A vibe coding keyboard should not disturb the typing posture that made the mechanical keyboard worth using. Place it where one hand can reach without pulling both hands off the home area. For many users, that means beside the main keyboard, slightly above it, or between keyboard and mouse.
Avoid placing the keypad so far away that every action becomes a reach. Also avoid putting it where it blocks the mouse or wrist rest. The device should support the main keyboard, not fight it.
If you use a large full-size board, the keypad may fit better on the opposite side of the mouse. If you use a compact board, there may be room near the right or left edge.
Try placement during a real review pass. The keypad should be easiest to reach when your eyes are on a diff and your hands are between reading, typing, and mouse movement. That is when AI controls usually matter most.
Use keycap memory thoughtfully
Mechanical keyboard users often enjoy keycaps, legends, and tactile differences. That can help with a small AI workflow keypad. Different symbols or feel can reinforce the meaning of microphone, approve, cancel, and return.
The goal is recognition, not decoration. The hand should know which key is which. The eyes should only need a glance during the first few sessions. If keycap choices make the device harder to read, simplify.
Strong physical distinction between approve and cancel is especially important. Those decisions should not feel easy to confuse.
Do not turn the setup into a macro maze
Mechanical keyboard owners may already be comfortable with layers and custom mappings. That is useful experience, but it can lead to overbuilding. The AI workflow keypad does not need to become another complex programmable surface on day one.
Start with four plain actions. Use them in real AI coding sessions. Add complexity only after the simple layout proves valuable. If the device becomes a maze, it will slow down the very workflow it was meant to help.
A small, memorable control layer is often stronger than a large hidden one.
How HarnessKeys pairs with a mechanical keyboard
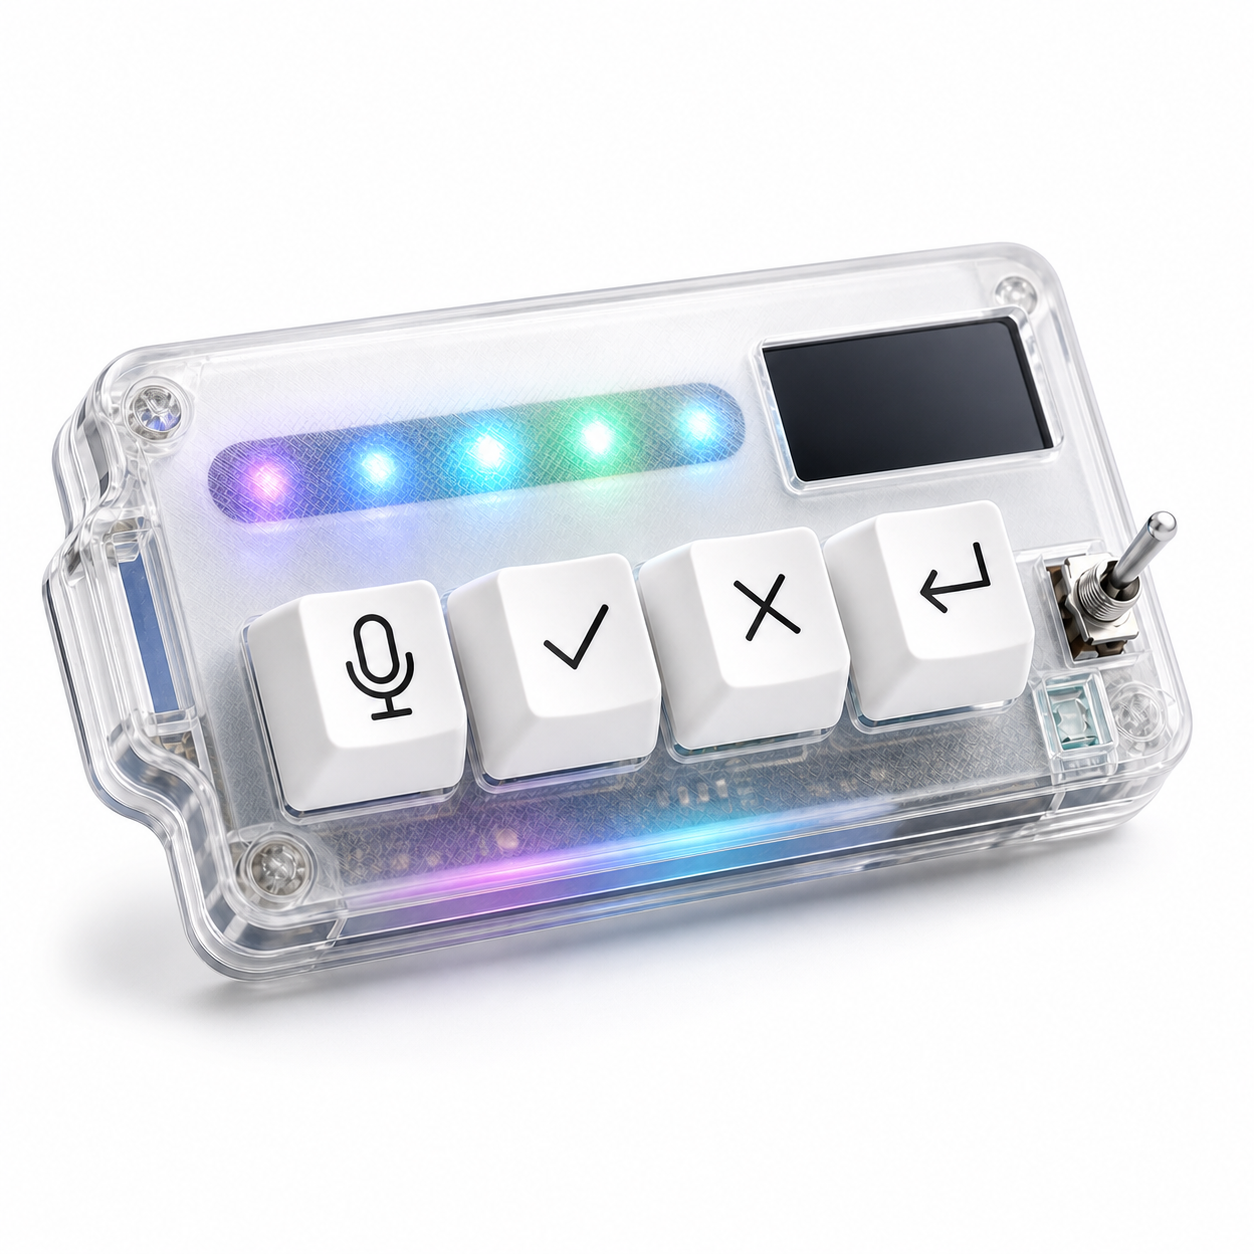
HarnessKeys pairs best with a mechanical keyboard when it is treated as a separate AI control surface. The main keyboard remains for typing and editor shortcuts. HarnessKeys handles microphone, approve, cancel, and return-style actions. USB and Bluetooth support give placement flexibility, while the status screen and RGB light bar provide glanceable feedback.
For mechanical keyboard users, the appeal is not more keys for their own sake. It is a cleaner split between coding input and AI workflow control.
If your current keyboard shortcuts already cover everything comfortably, you may not need a separate keypad. But if AI controls are starting to crowd your shortcut habits or pull you toward the mouse, a focused device can help. The HarnessKeys AI Workflow Keypad is designed to sit beside a good keyboard, not replace it.