Setup and Tutorials
How to Set Up a Vibe Coding Keyboard on Linux
Jun
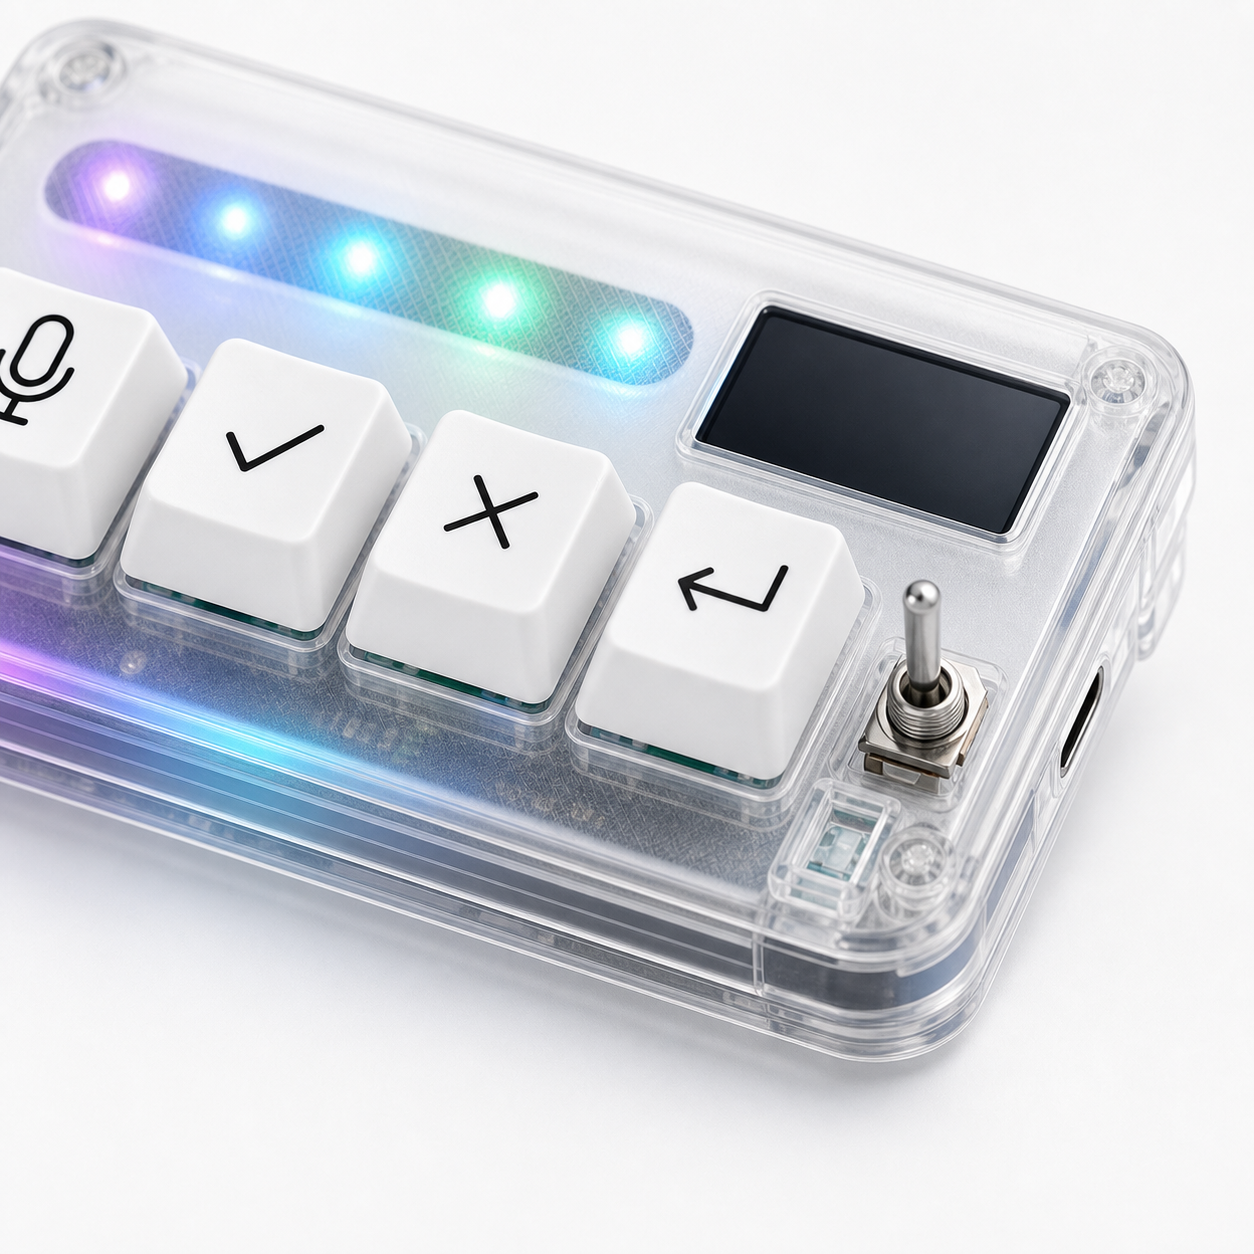
Linux users usually expect a little more manual setup, and that mindset helps with a vibe coding keyboard. The right approach is to verify hardware detection, observe key events, choose stable shortcuts, and test the AI workflow one step at a time. HarnessKeys can fit a Linux desk well, but the first session should be methodical.
Because Linux environments vary by distribution, desktop environment, window manager, terminal, and input stack, this guide stays practical rather than pretending there is one universal path. The durable process is: detect, test, map, verify, document.
Confirm USB detection before mapping anything
USB is the cleanest starting point on Linux. Connect HarnessKeys and confirm that the system sees a new input device. Depending on your distribution and tools, you may inspect system settings, device lists, logs, or input-event utilities. The exact command is less important than the principle: prove the device is visible before blaming the application.
After the system detects it, open a plain text field and press each key. If input appears, you have a baseline. If input does not appear, test another port, cable, hub, or machine if available.
Connection first. Mapping second.
Pair Bluetooth with the desktop environment in mind
Bluetooth setup depends on your desktop environment and Bluetooth stack. GNOME, KDE, lightweight window managers, and custom setups may expose pairing differently. Pair the device, confirm it connects, then test in a simple field before opening an AI coding tool.
If Bluetooth pairing works but input is inconsistent, compare against USB. If USB is stable, use it for the first few sessions and troubleshoot wireless later. A reliable cable beats an elegant wireless setup that drops during approval or cancellation.
Linux gives you control, but it also expects patience.
Observe raw key behavior when something feels wrong
Linux users have a useful advantage: it is often possible to inspect input events more directly. If a key does not behave as expected, check whether the system receives an event, what keycode or shortcut appears, and whether the desktop or app intercepts it.
This helps separate hardware input from application mapping. If the event appears but the AI tool ignores it, the issue is probably app focus, shortcut configuration, or desktop-level interception. If no event appears, look back at connection and device recognition.
Good troubleshooting depends on knowing which layer failed.
Choose shortcuts that your window manager will not steal
Linux window managers and desktop environments often use global shortcuts for workspaces, launchers, terminals, screenshots, tiling, search, and accessibility. If HarnessKeys sends a shortcut that your system already owns, your AI app may never see it.
Pick mappings that do not conflict with your global setup. Test them in the editor, browser, terminal, and AI assistant you actually use. If you run a custom window manager, document any global bindings that affect the keypad.
The cleanest mapping is the one that reaches the right app consistently.
Voice input may need extra setup
Voice input on Linux varies widely. You may use browser-based dictation, a desktop speech tool, a custom script, cloud transcription, or an AI app with its own microphone control. Before assigning the mic key, make sure the voice workflow works manually.
Check microphone selection, browser permissions, audio server behavior, and app focus. If your voice workflow is custom, test the command without HarnessKeys first. Then map the key to trigger that known-good action.
The keypad should simplify a working voice flow, not hide an unfinished one.
Keep approve and cancel visible during early testing
Because Linux setups can be highly customized, approve and cancel should start with visible, reversible actions. Approve a harmless suggestion. Cancel a test generation. Submit a prompt in a scratch environment. Do not begin by mapping approve to run scripts, apply patches, or modify files automatically.
A physical key can become very powerful on Linux. That is useful after it is tested. It is risky before you know exactly what receives the shortcut.
Earn trust with small actions first.
Build a sandbox project for the first workflow
Create a small test project or scratch file. Use your normal AI coding tool to explain a function, suggest a tiny change, or draft a test. Use HarnessKeys for voice, approve, cancel, and return across that loop. Watch terminal focus carefully if your workflow spans editor and shell.
This sandbox reveals desktop focus problems, shortcut conflicts, and voice permission issues without putting a real repository at risk.
If the setup survives the sandbox, move to real work gradually.
Document the Linux-specific parts
Write down the distribution, desktop environment, connection mode, shortcut mappings, voice tool, and any global shortcut conflicts. Linux setups are easy to customize and easy to forget. A five-line note can save a future hour.
Include the exact role of each key, not just the shortcut. For example: mic starts browser dictation, approve accepts reviewed AI suggestion, cancel stops current generation, return submits follow-up. Roles are easier to remember than keycodes.
For product context, review the HarnessKeys page. For order or hardware questions, contact support.